Hush, hush, keep it down now
–‘Til Tuesday, “Voices Carry”
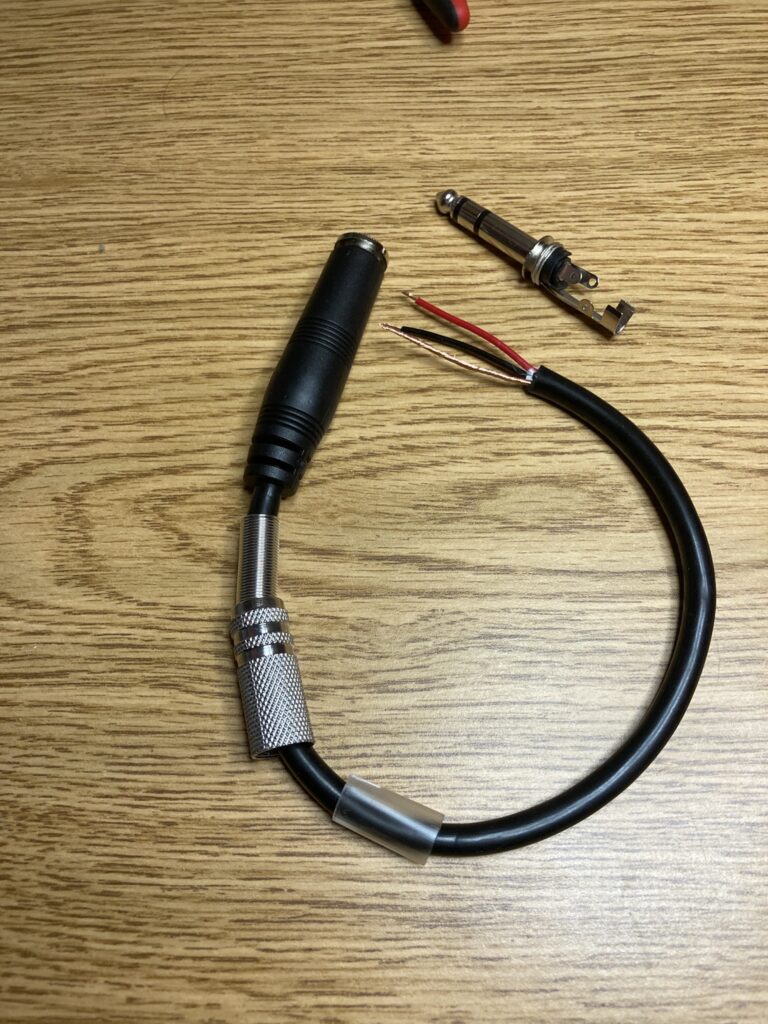
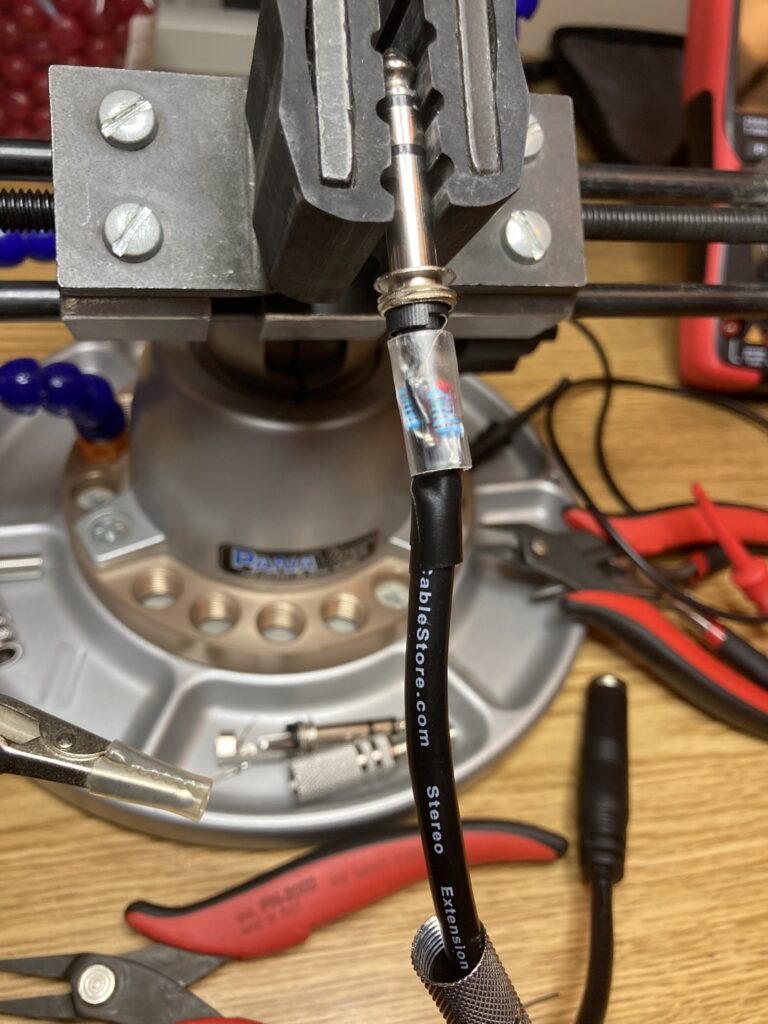
After two failed attempts at making my headphone attenuator, I finally got a working one. I showed an “in progress” shot in an earlier post, but mentioned that it didn’t work when I tried to solder everything together. Physics really, I wasn’t thinking ahead to having to slide the protective cover or shell over the whole thing and resistors don’t bend in the middle. I only really have one in-progress shot of the working one:

But the finished product looks pretty good if I say so myself:

The biggest part of the problem is getting those four resistors in there correctly. I had done it with the “in-line” version but .. well, I didn’t like it anyway, so when it didn’t work I wasn’t heartbroken. This one works, doesn’t have shorts or wiggly bits that cause issues, and plugging my headphones into it and the cable into the board means I have a larger dynamic range on the one potentiometer as expected, and “loud” in the headphones can be made to be “loud” in the room so there’s no surprise (or booming headphones sitting on a desk somewhere).

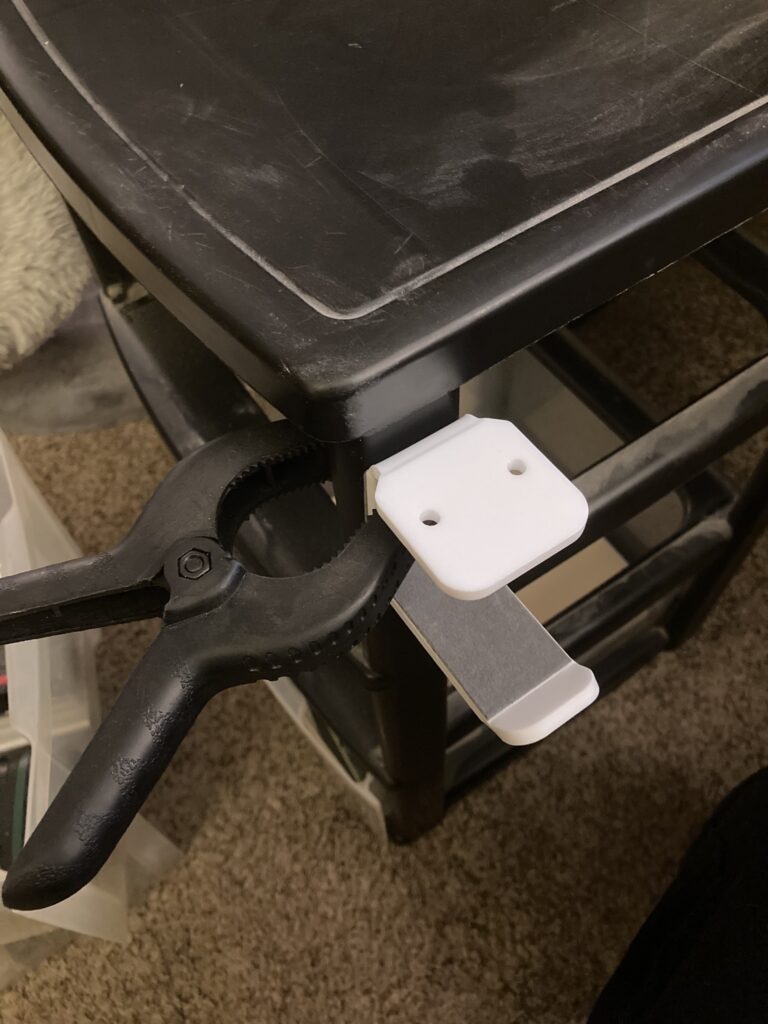
Speaking of headphones on a desk, I fixed that too. Or I will have, once I’ve given the adhesive some time to bond. This drawer is usually under my desk by my left knee, so the headphones will be nearby but out of the way, not taking up desk space, and also perhaps not getting dusty when they’re not in use. I could’ve screwed it to the underside of the desk, and still reserve the right to do so, but if this works then it’s less “permanent” and still useful, and if it falls off after two weeks I get a screwdriver and make it so.
Comments
Join the conversation on Bluesky